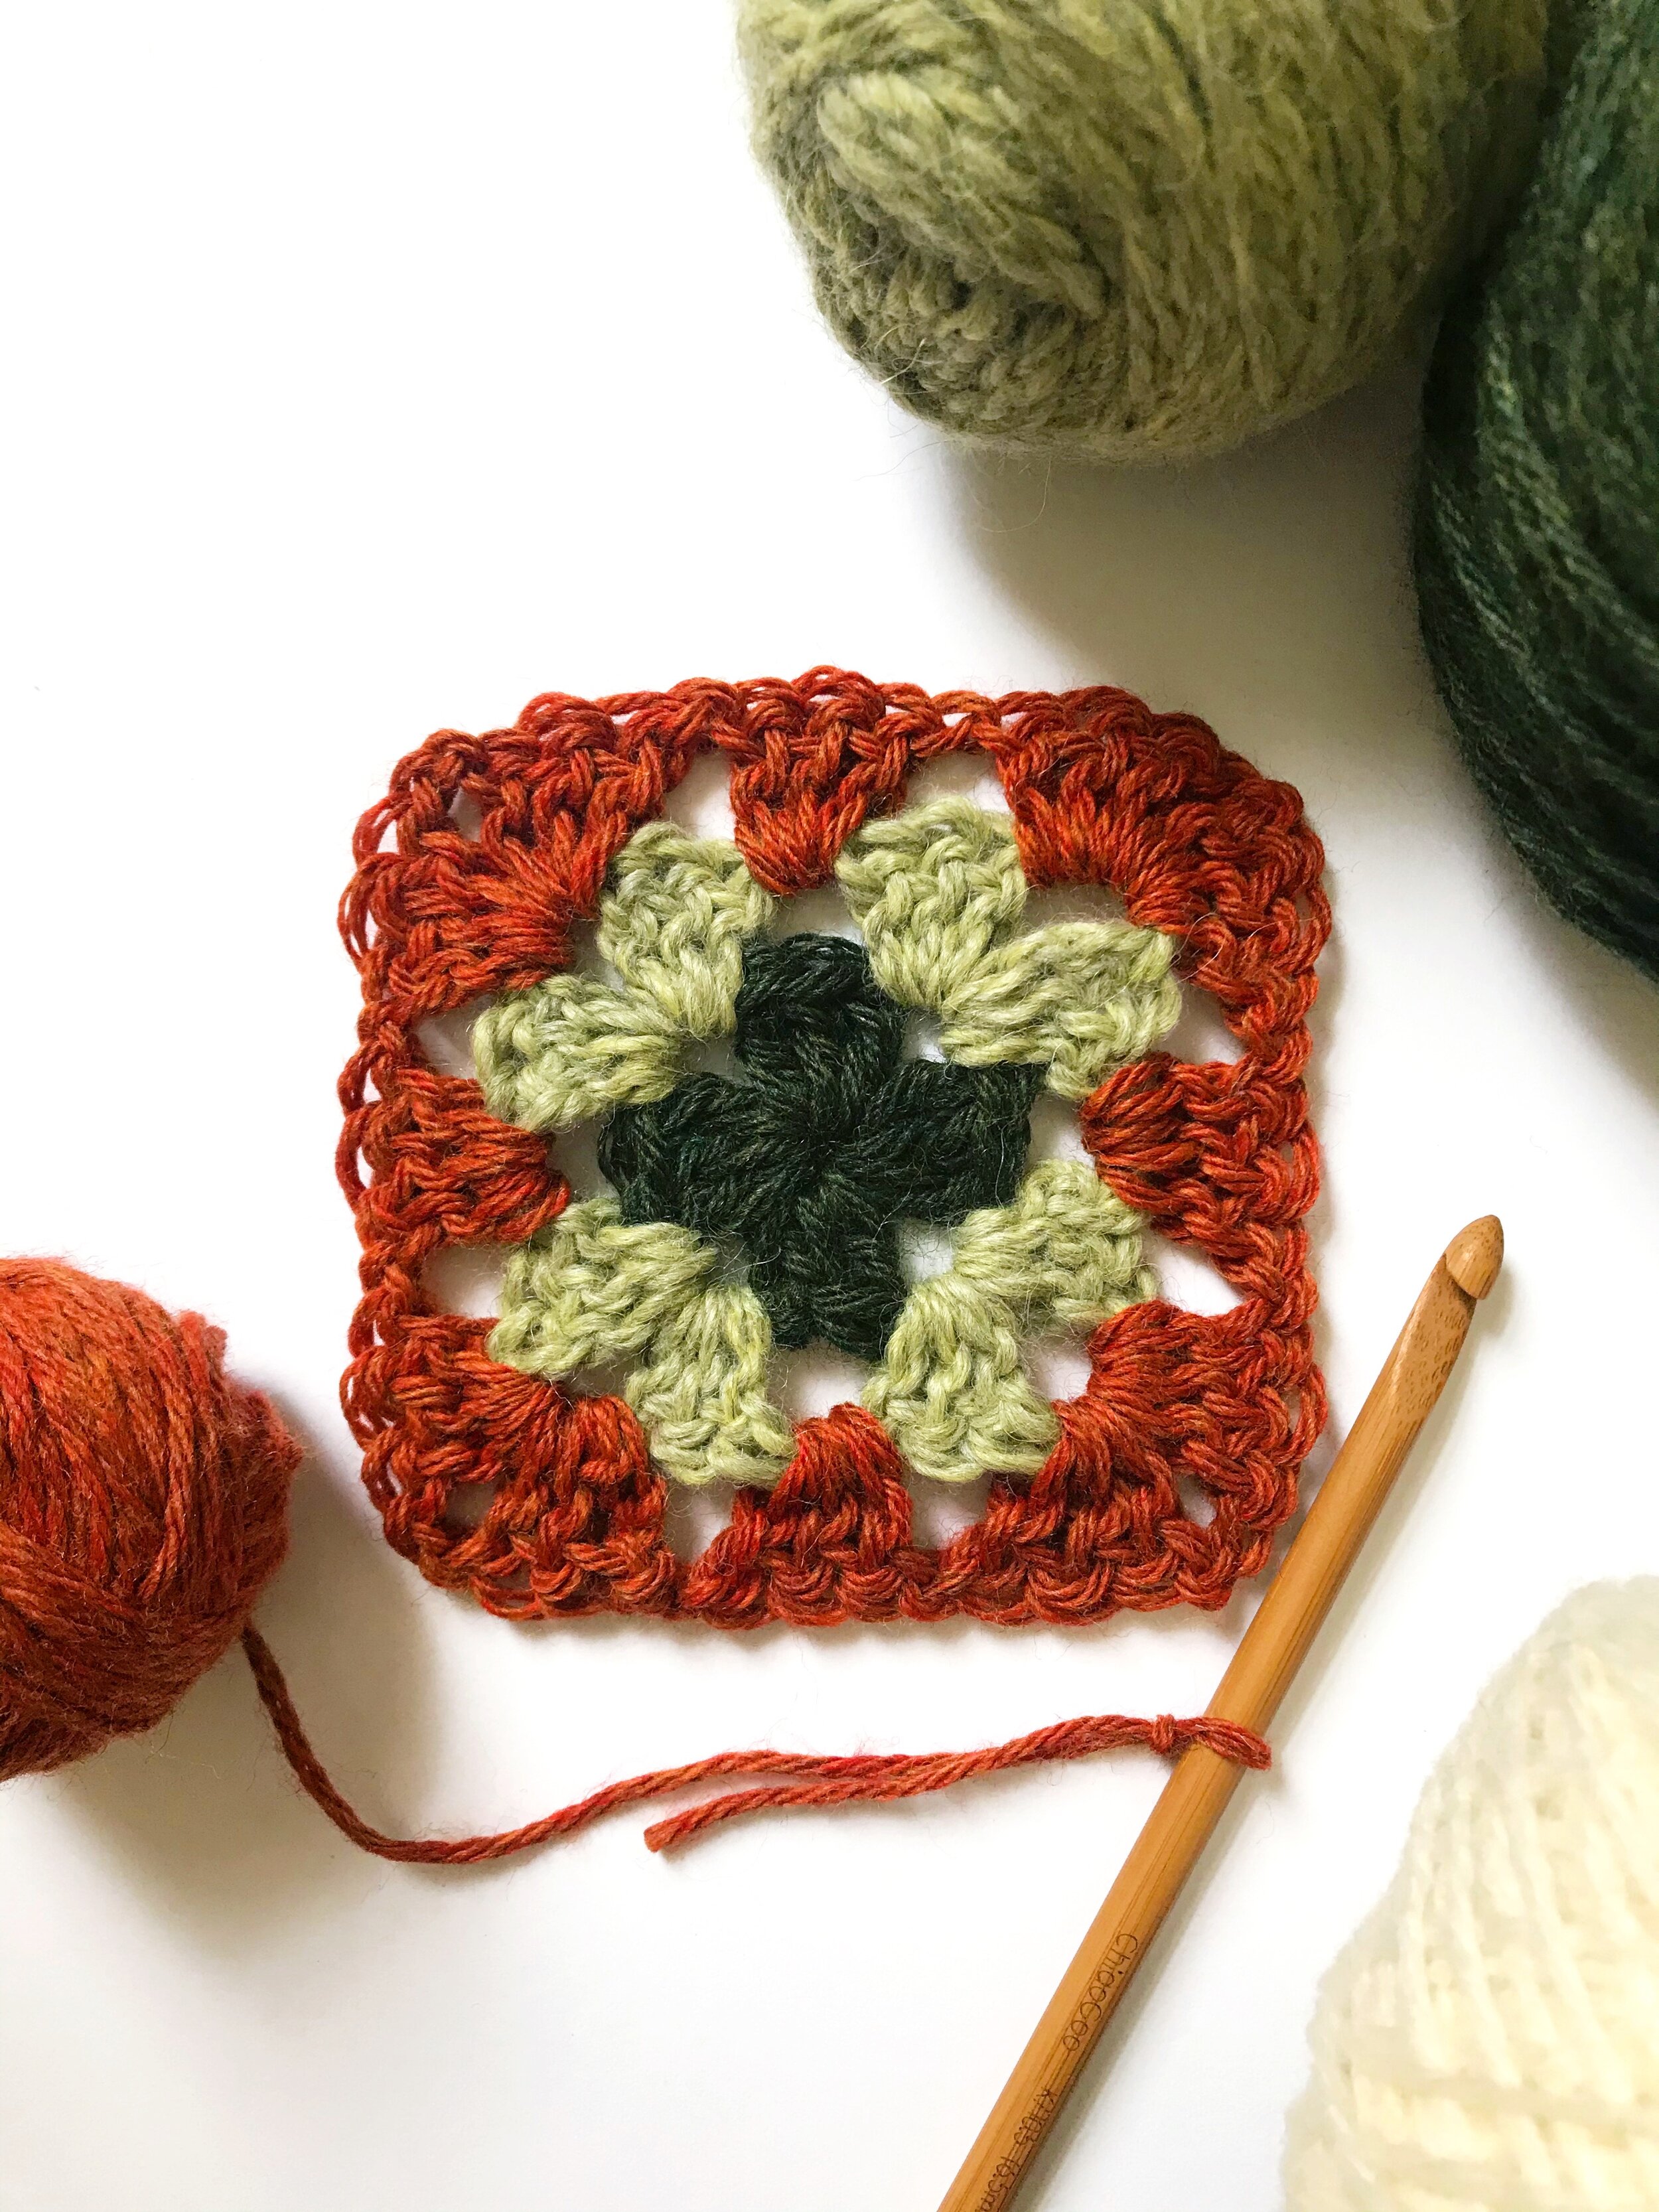
The Scrap Project: Granny Squares
Materials:
Yarn
Crochet hook
Scissors
Tapestry needle
Abbreviations:
CH - chain stitch
SL ST - slip stitch
DC - double crochet
Granny squares are a great way to use up your yarn scraps and also a perfect crochet project for beginners! I’ve created videos for this project, which you can find in my Instagram highlights under “Scrap.” There are also many wonderful crochet stitch tutorials on YouTube that I’ve watched many, many times as I only find myself crocheting about once every year. I’ll be using the American crochet stitch terminology in this post. There are a lot of variations of the granny square, but this tutorial will show you the most “traditional” version with the fewest stitches.
If you post your granny squares on Instagram, use the hashtag #scrapproject2020 so I can see them!

1. Attach your first yarn color to your crochet hook using a slip knot. Find the end of your yarn and make a loop.

2. Push the long end of your yarn through the loop to form another loop.

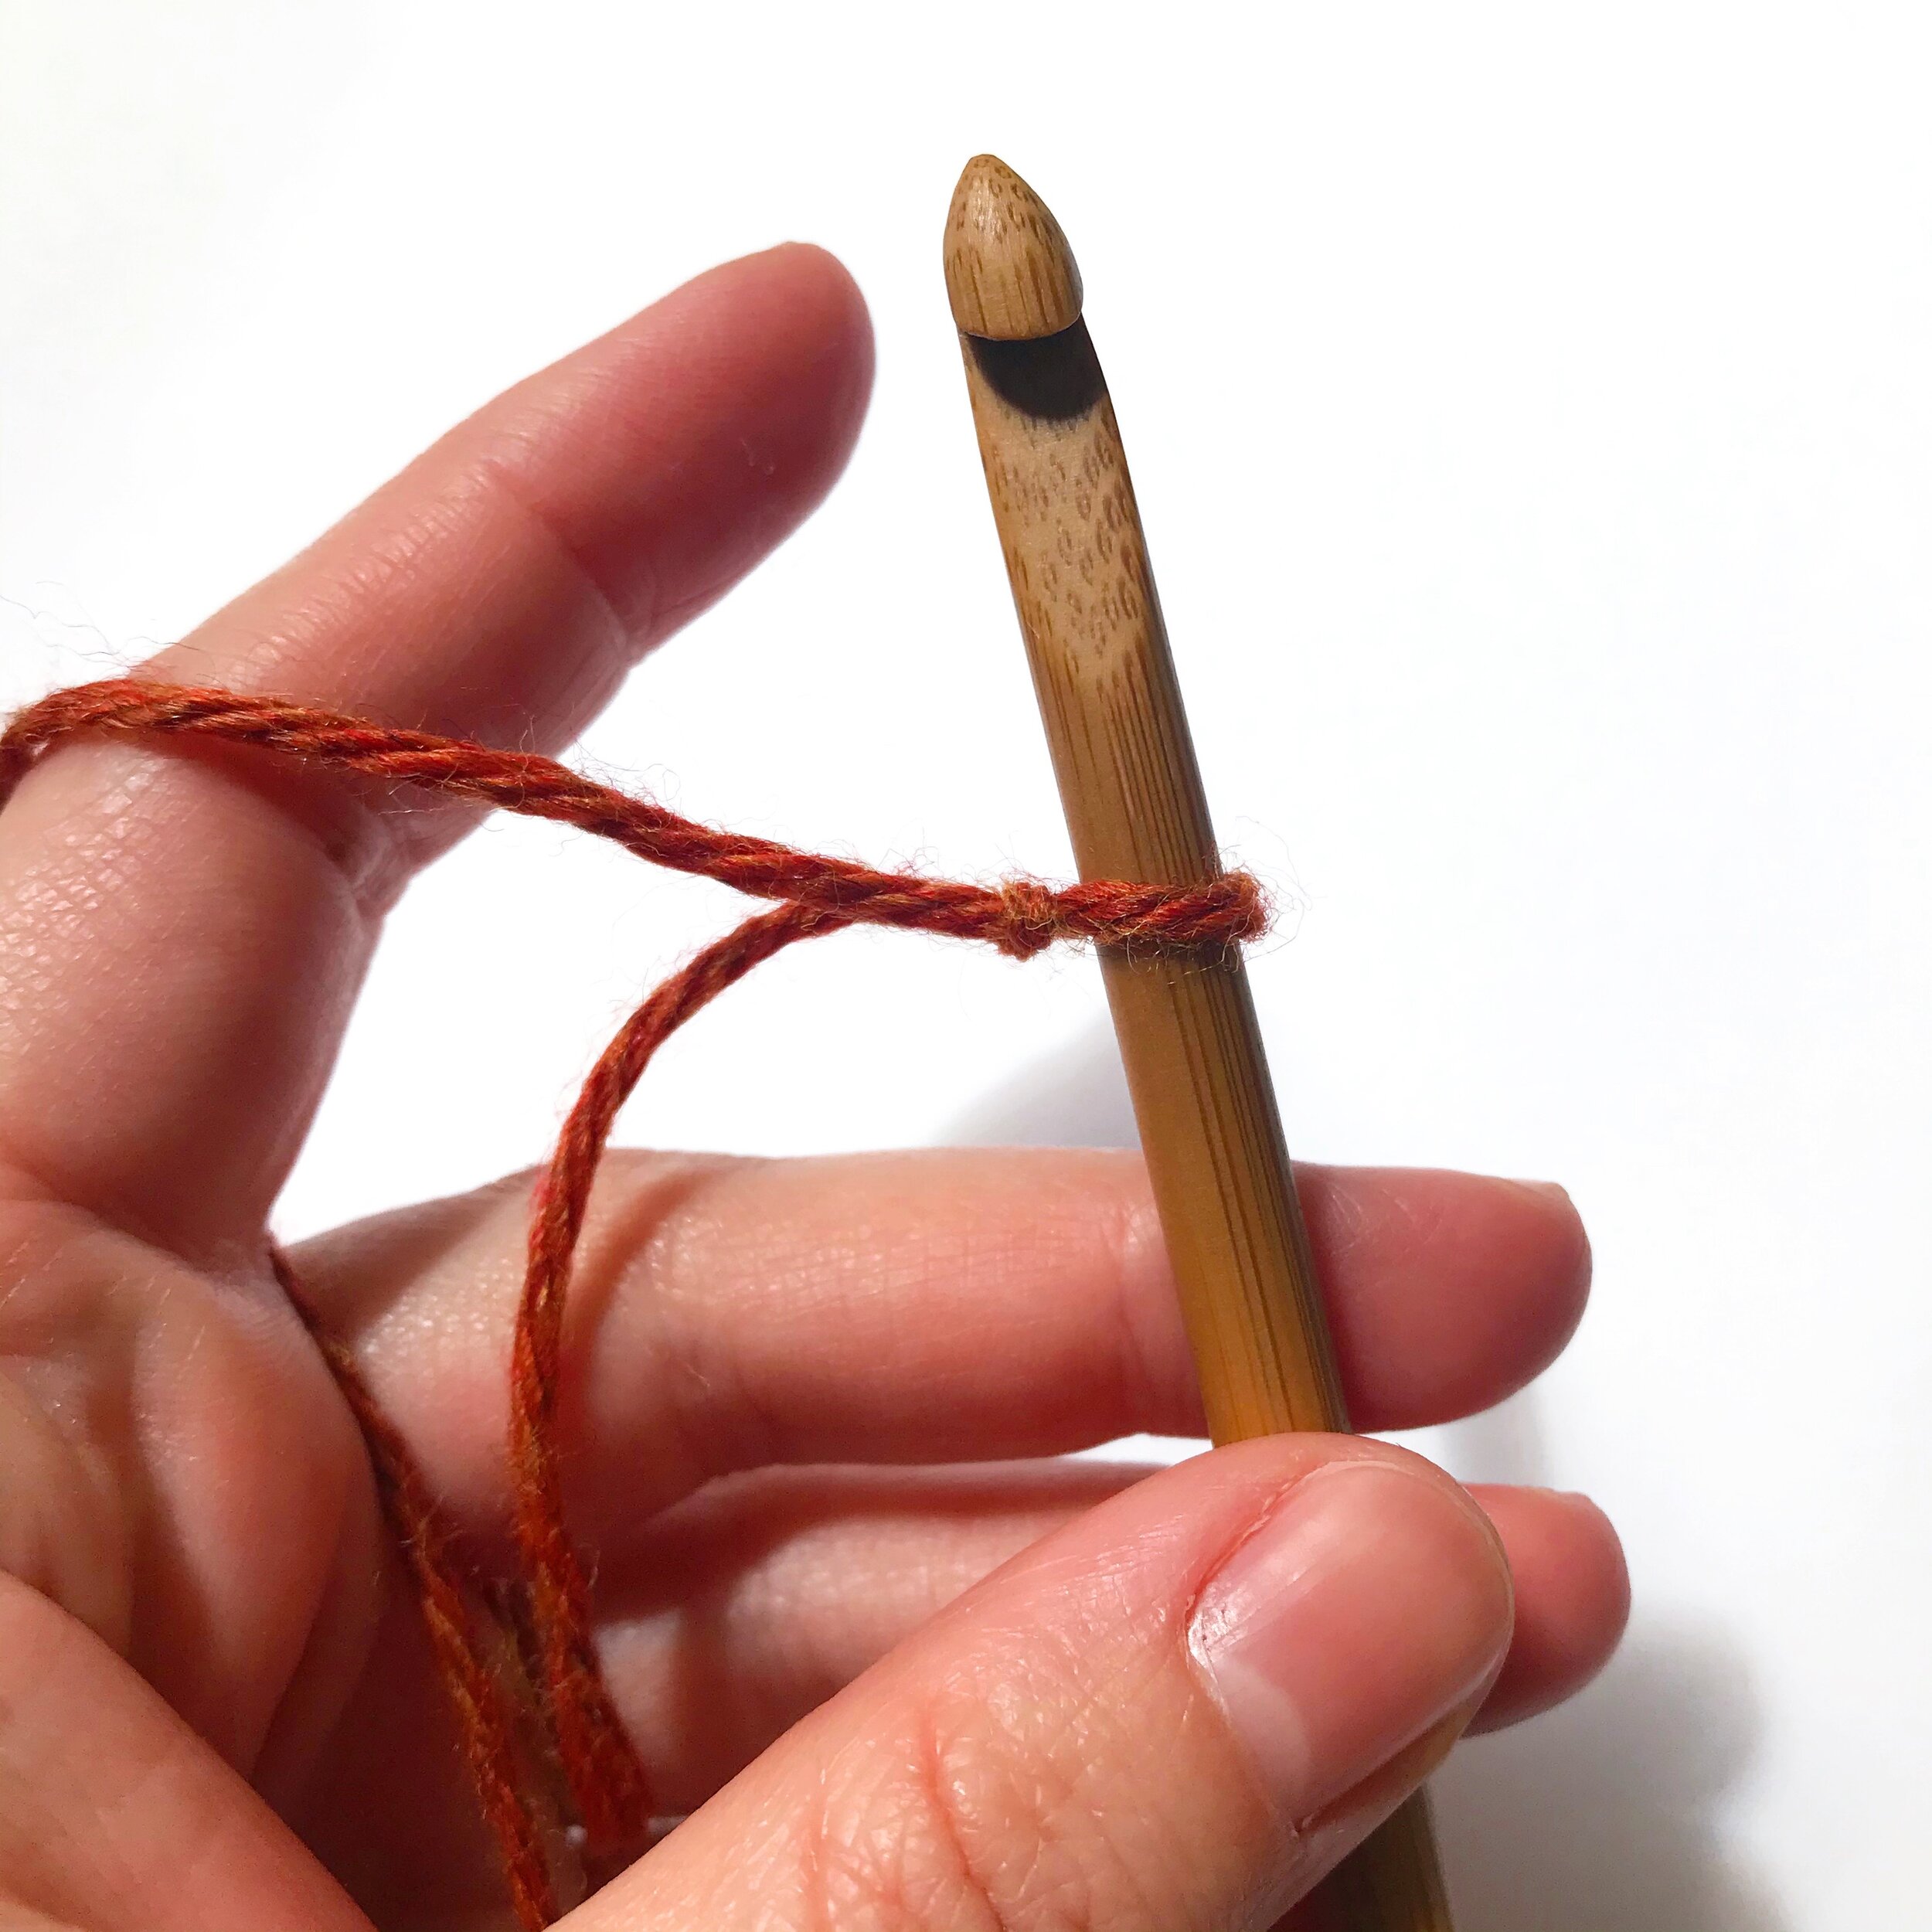
3. Insert your crochet hook through this loop and pull the short end of your yarn to tighten. I’m using a size K/6.5 mm hook.

4. Get ready to crochet! Chain 4 stitches.

5. Start by wrapping the long end of your yarn (the one that is attached to the ball) around your crochet hook. This is called “yarn over.”

6. Use the hook to pull the yarn down through the loop that is on your hook to create your first chain stitch.
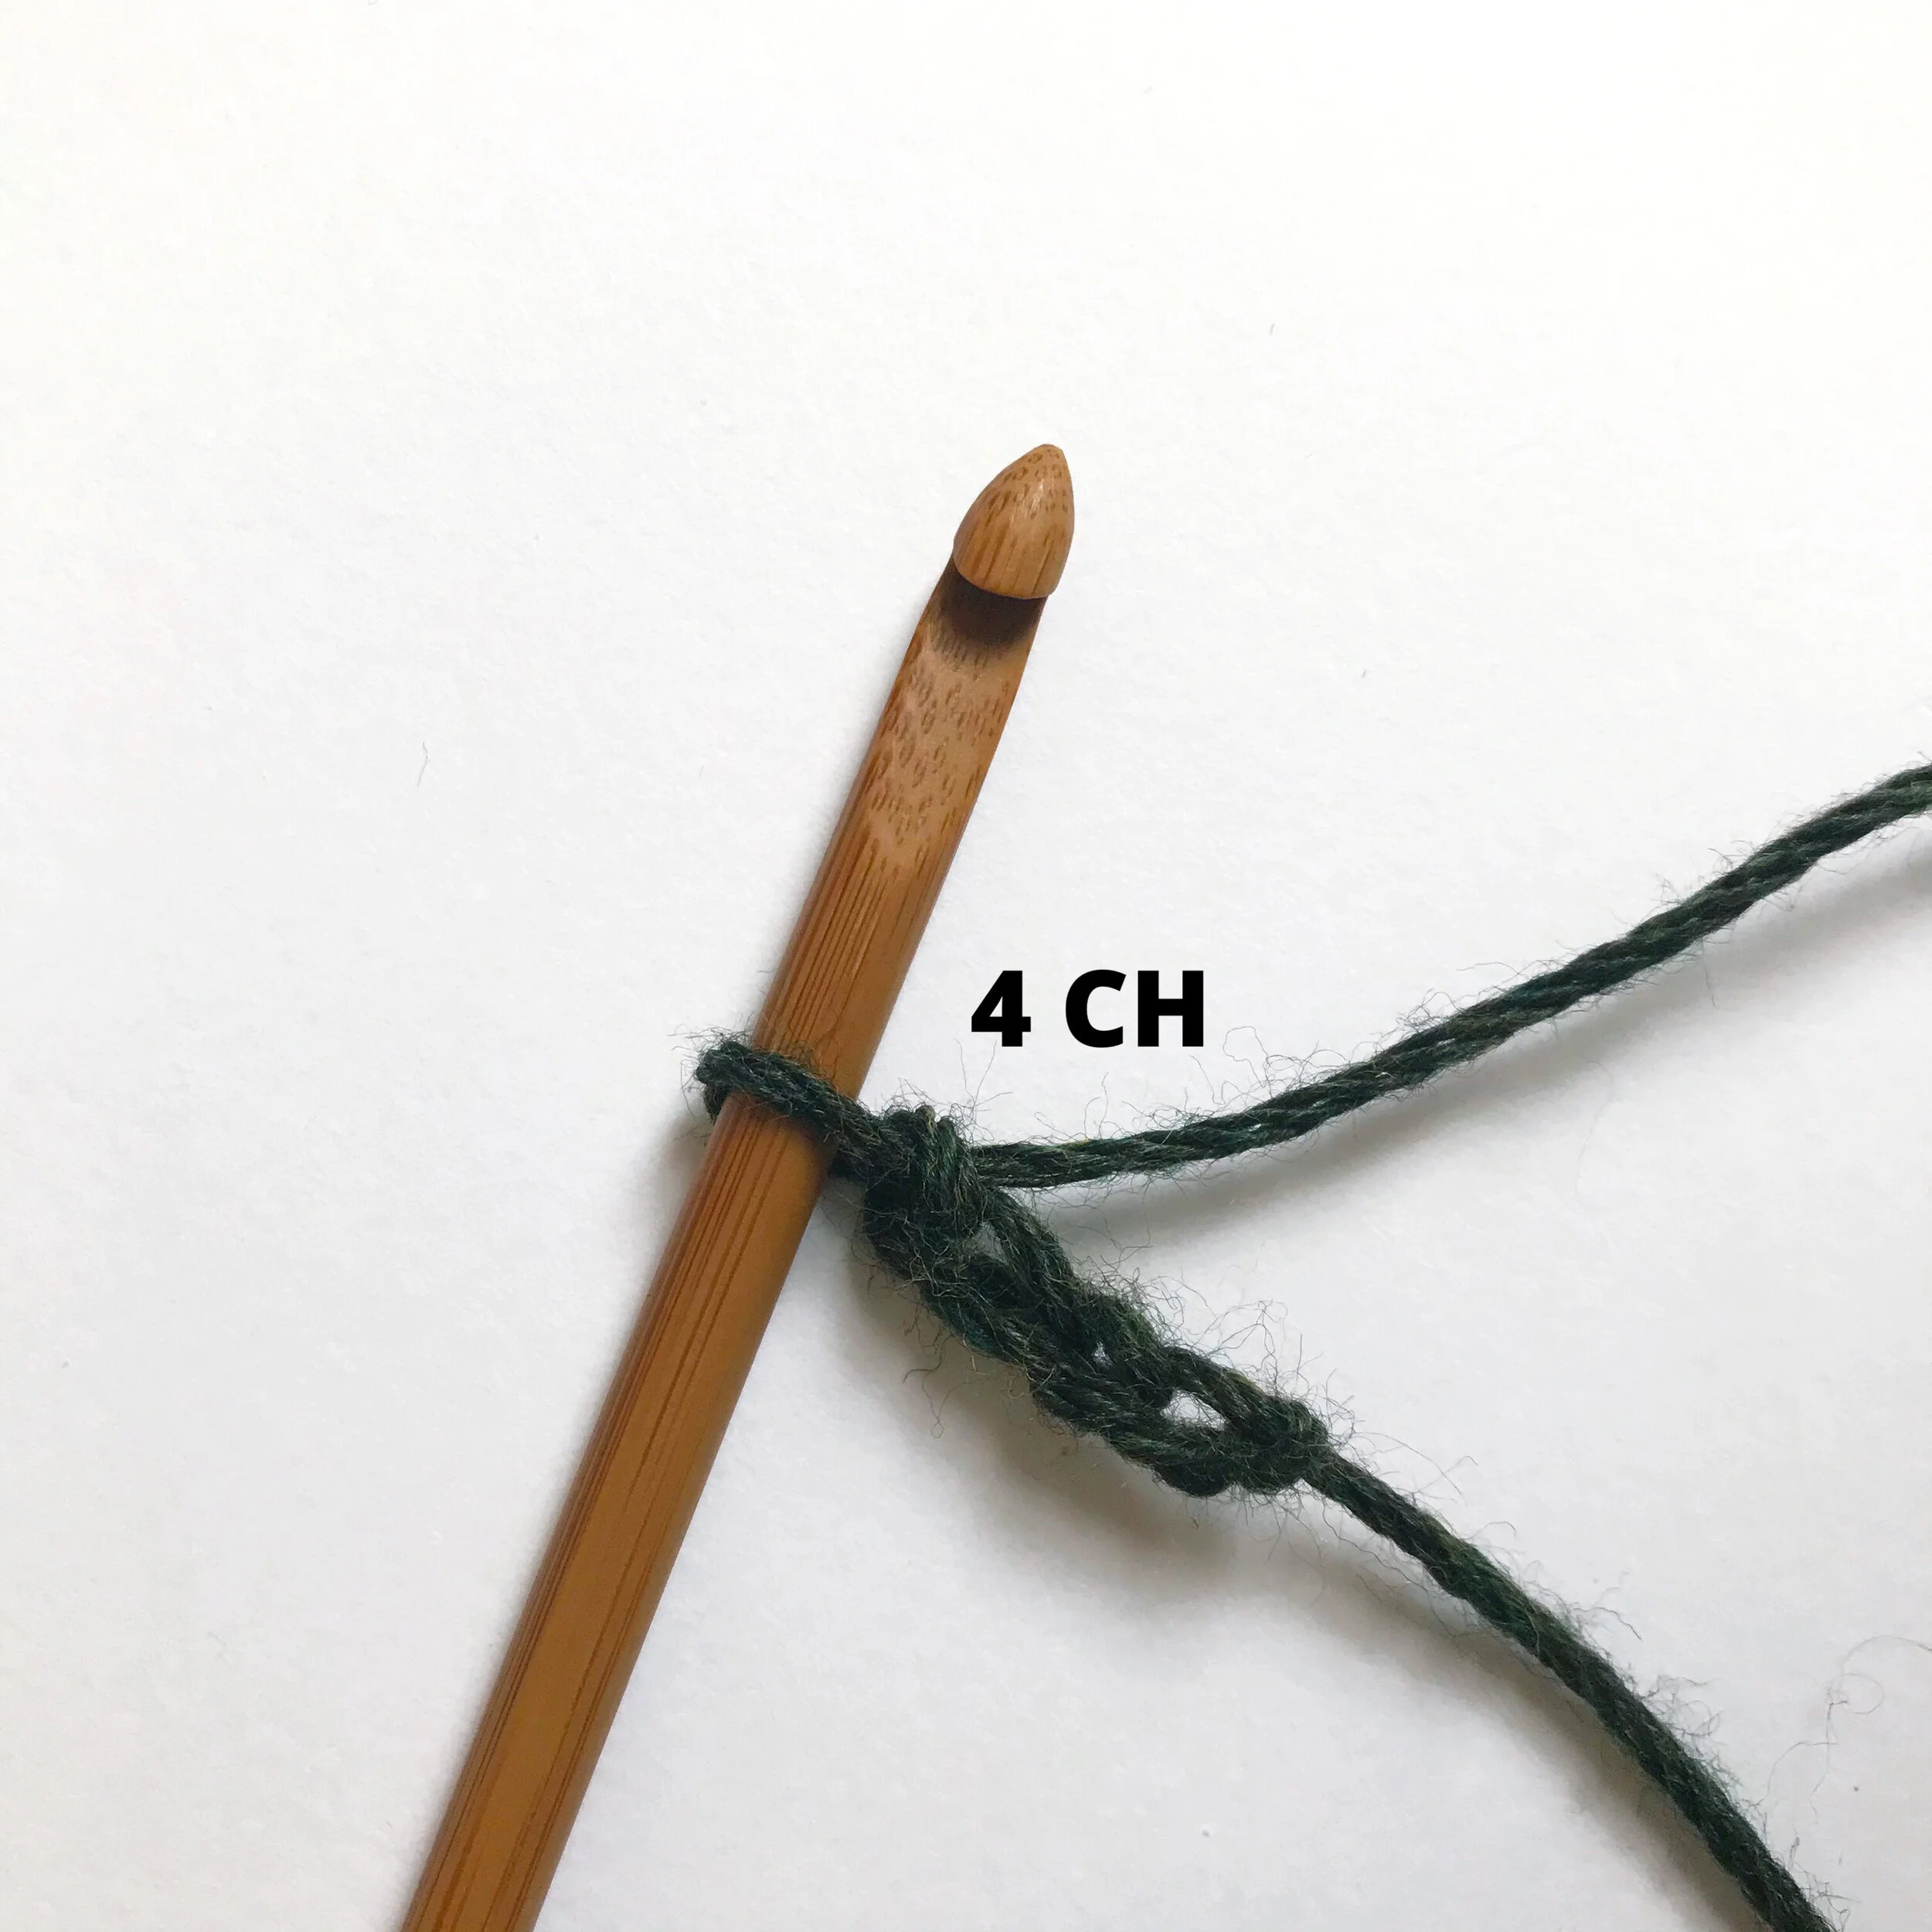
7. Chain 4 stitches.

8. Insert your hook into the first chain stitch.

9. Yarn over and pull the yarn down through both loops on your hook.

10. This is a slip stitch. You should now have a small circle of stitches. This will be the center of your granny square. The next round of stitches will be created by inserting the needle directly into the center of the circle.

11. Chain 3 stitches and then double crochet twice into the center of the circle. Your 3 chain stitches will count as one double crochet. I recommend watching a video of the double crochet on YouTube or in my Instagram story highlights under “Scrap” if this stitch is new to you.

12. Chain 2. This will create your first corner.

13. Double crochet 3 times into the center of the circle. Continue the pattern by stitching 2 chains, 3 double crochets, 2 chains, 3 double crochets, and 2 chains.
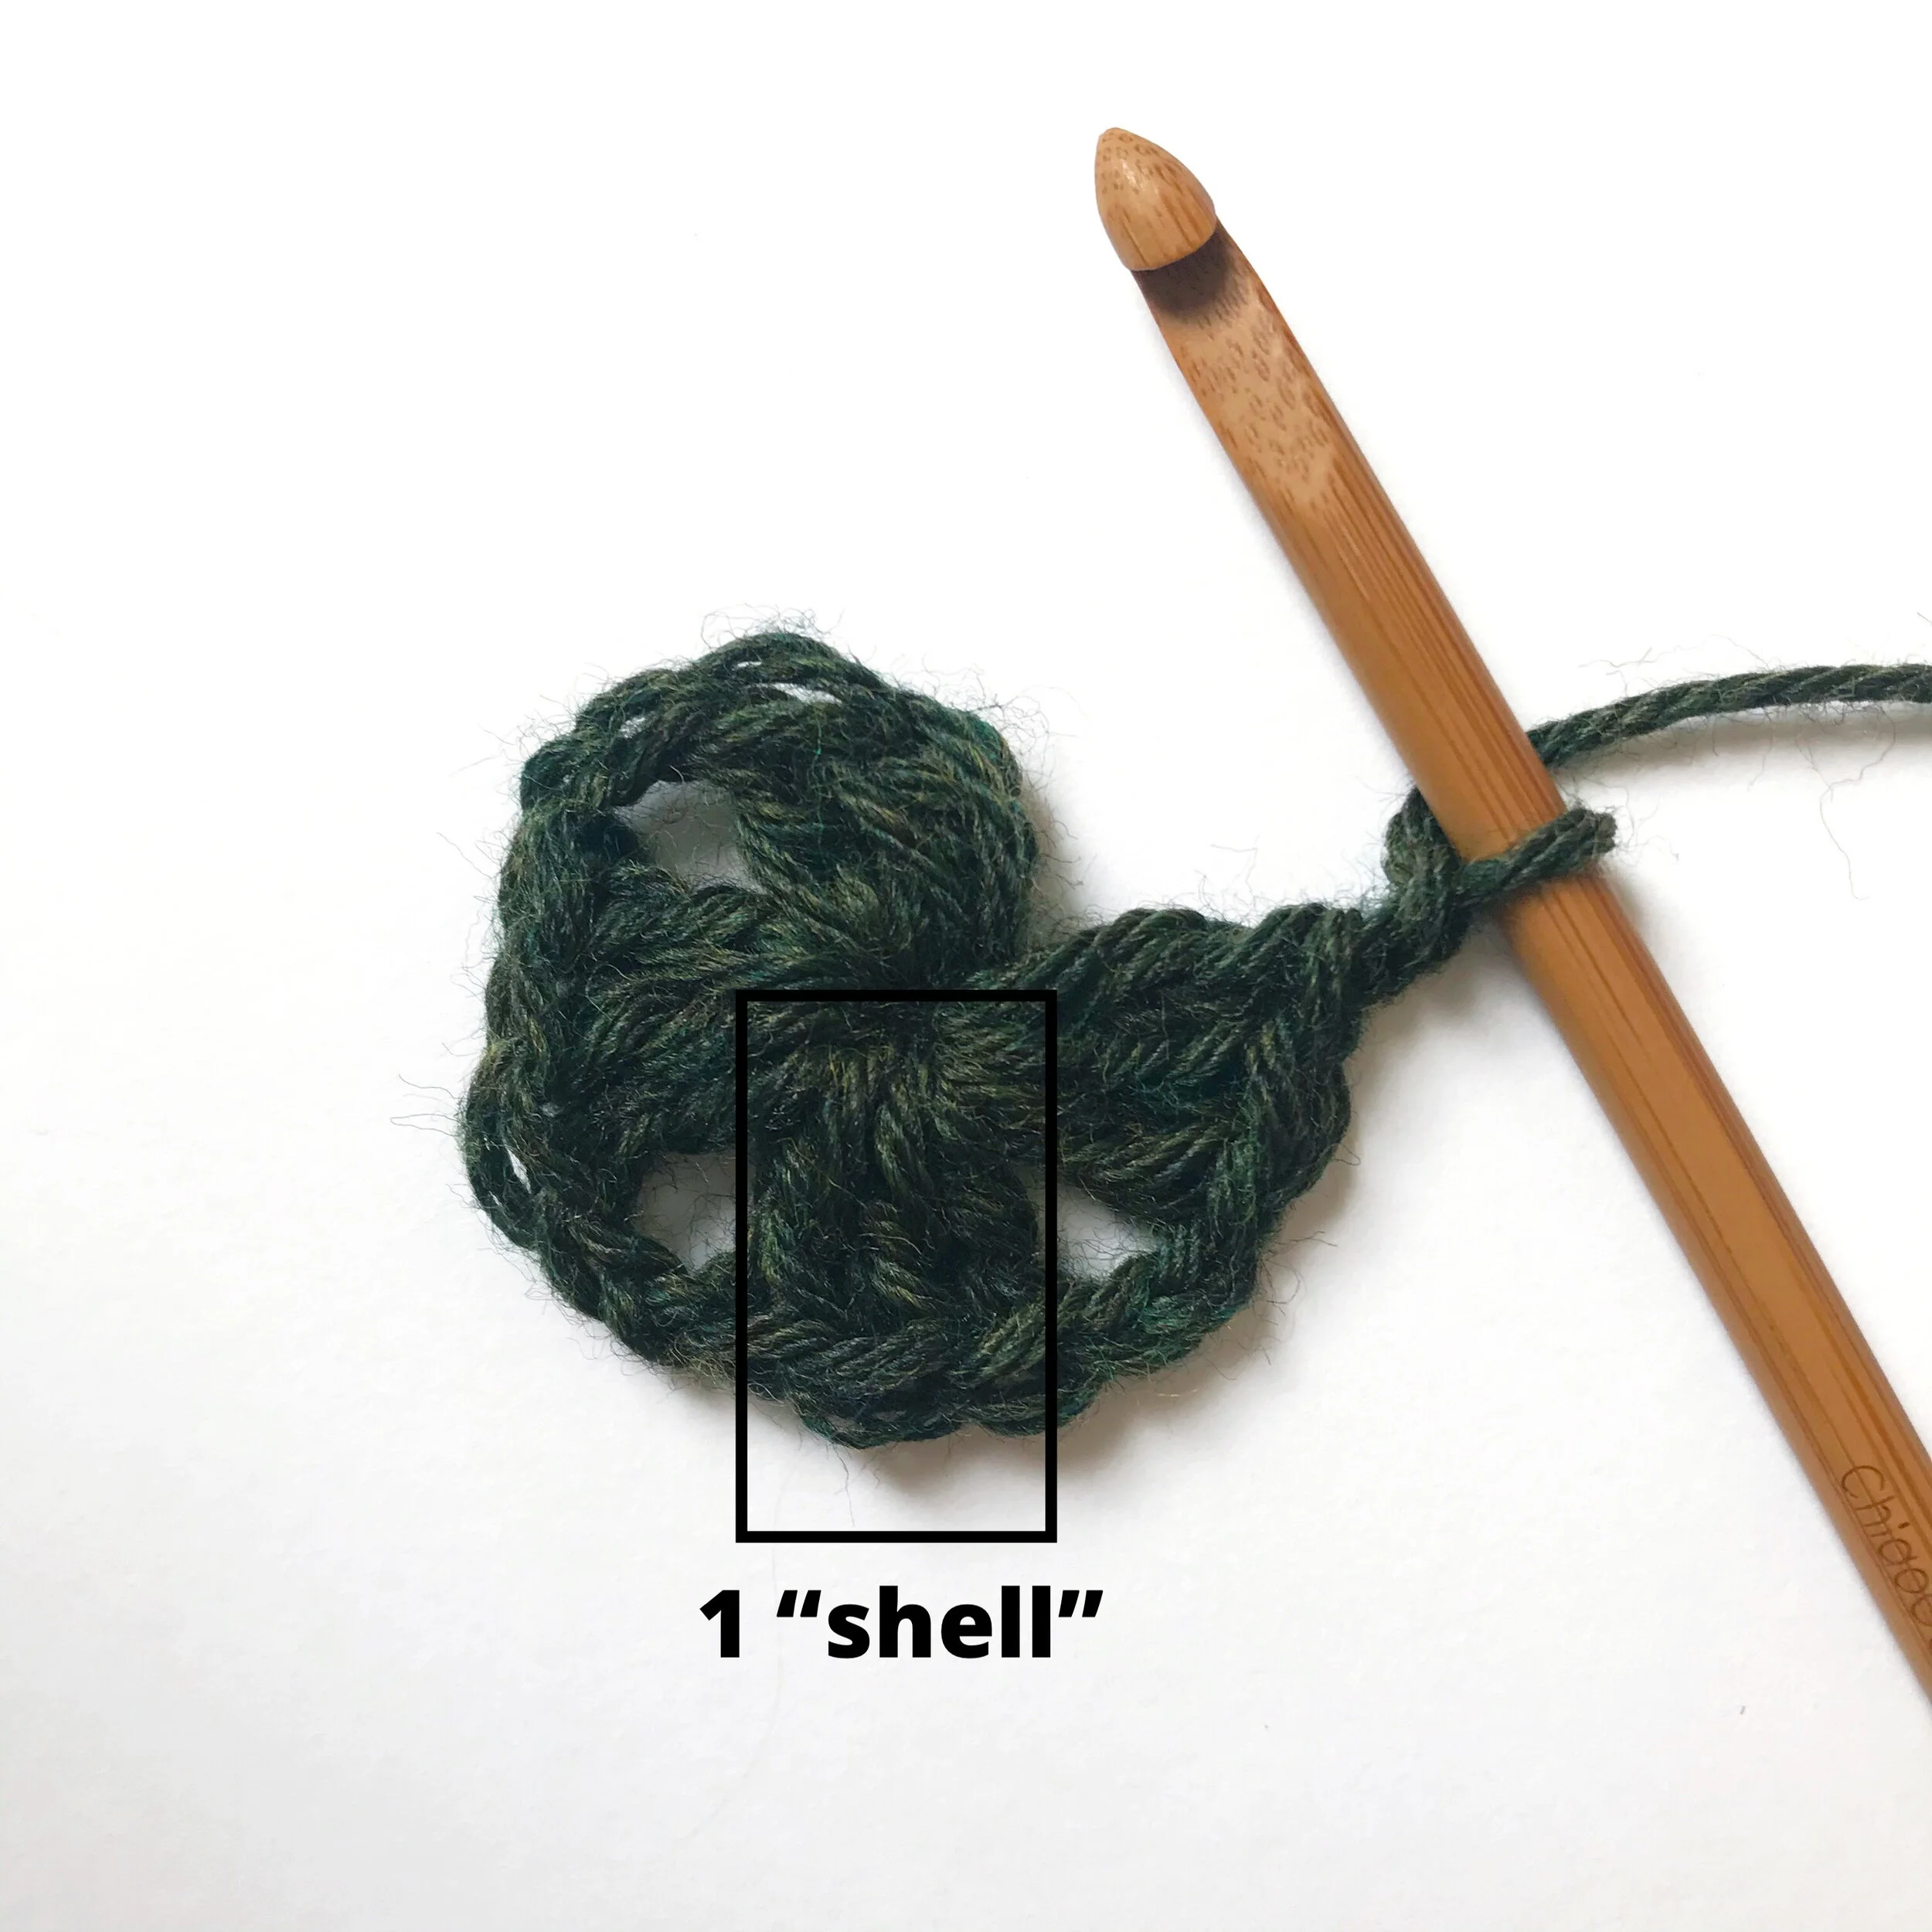
14. Each set of 3 double crochets is called one “shell.” You should have 4 shells and 2 additional chains. (Note: Your first shell for each round of the granny square will consist of 3 chain stitches and 2 double crochets.)

15. To close the first round, insert your hook into both the front and back stitches at the beginning of the round.

16. Yarn over and pull the yarn down through both stitches on your hook. This is called a “slip stitch.”

17. You should have one stitch left on your hook.

18. Remove the loop from your crochet hook and trim your yarn. Pull the end of your yarn through the loop to form a knot.

19. Use a tapestry needle to weave in the ends of your yarn.

20. Weave in both ends and trim any excess with your scissors.

21. This is the pattern for the first round: 3 CH, 2 DC, 2 CH, 3 DC, 2 CH, 3 DC, 2 CH, 3 DC, 2 CH, SL ST.

22. Attach your next yarn color to your crochet hook using a slip knot.

23. Insert your hook into a corner (the space between the shells).
24. Yarn over and pull the yarn down through the corner and the loop on your hook to create a slip stitch.

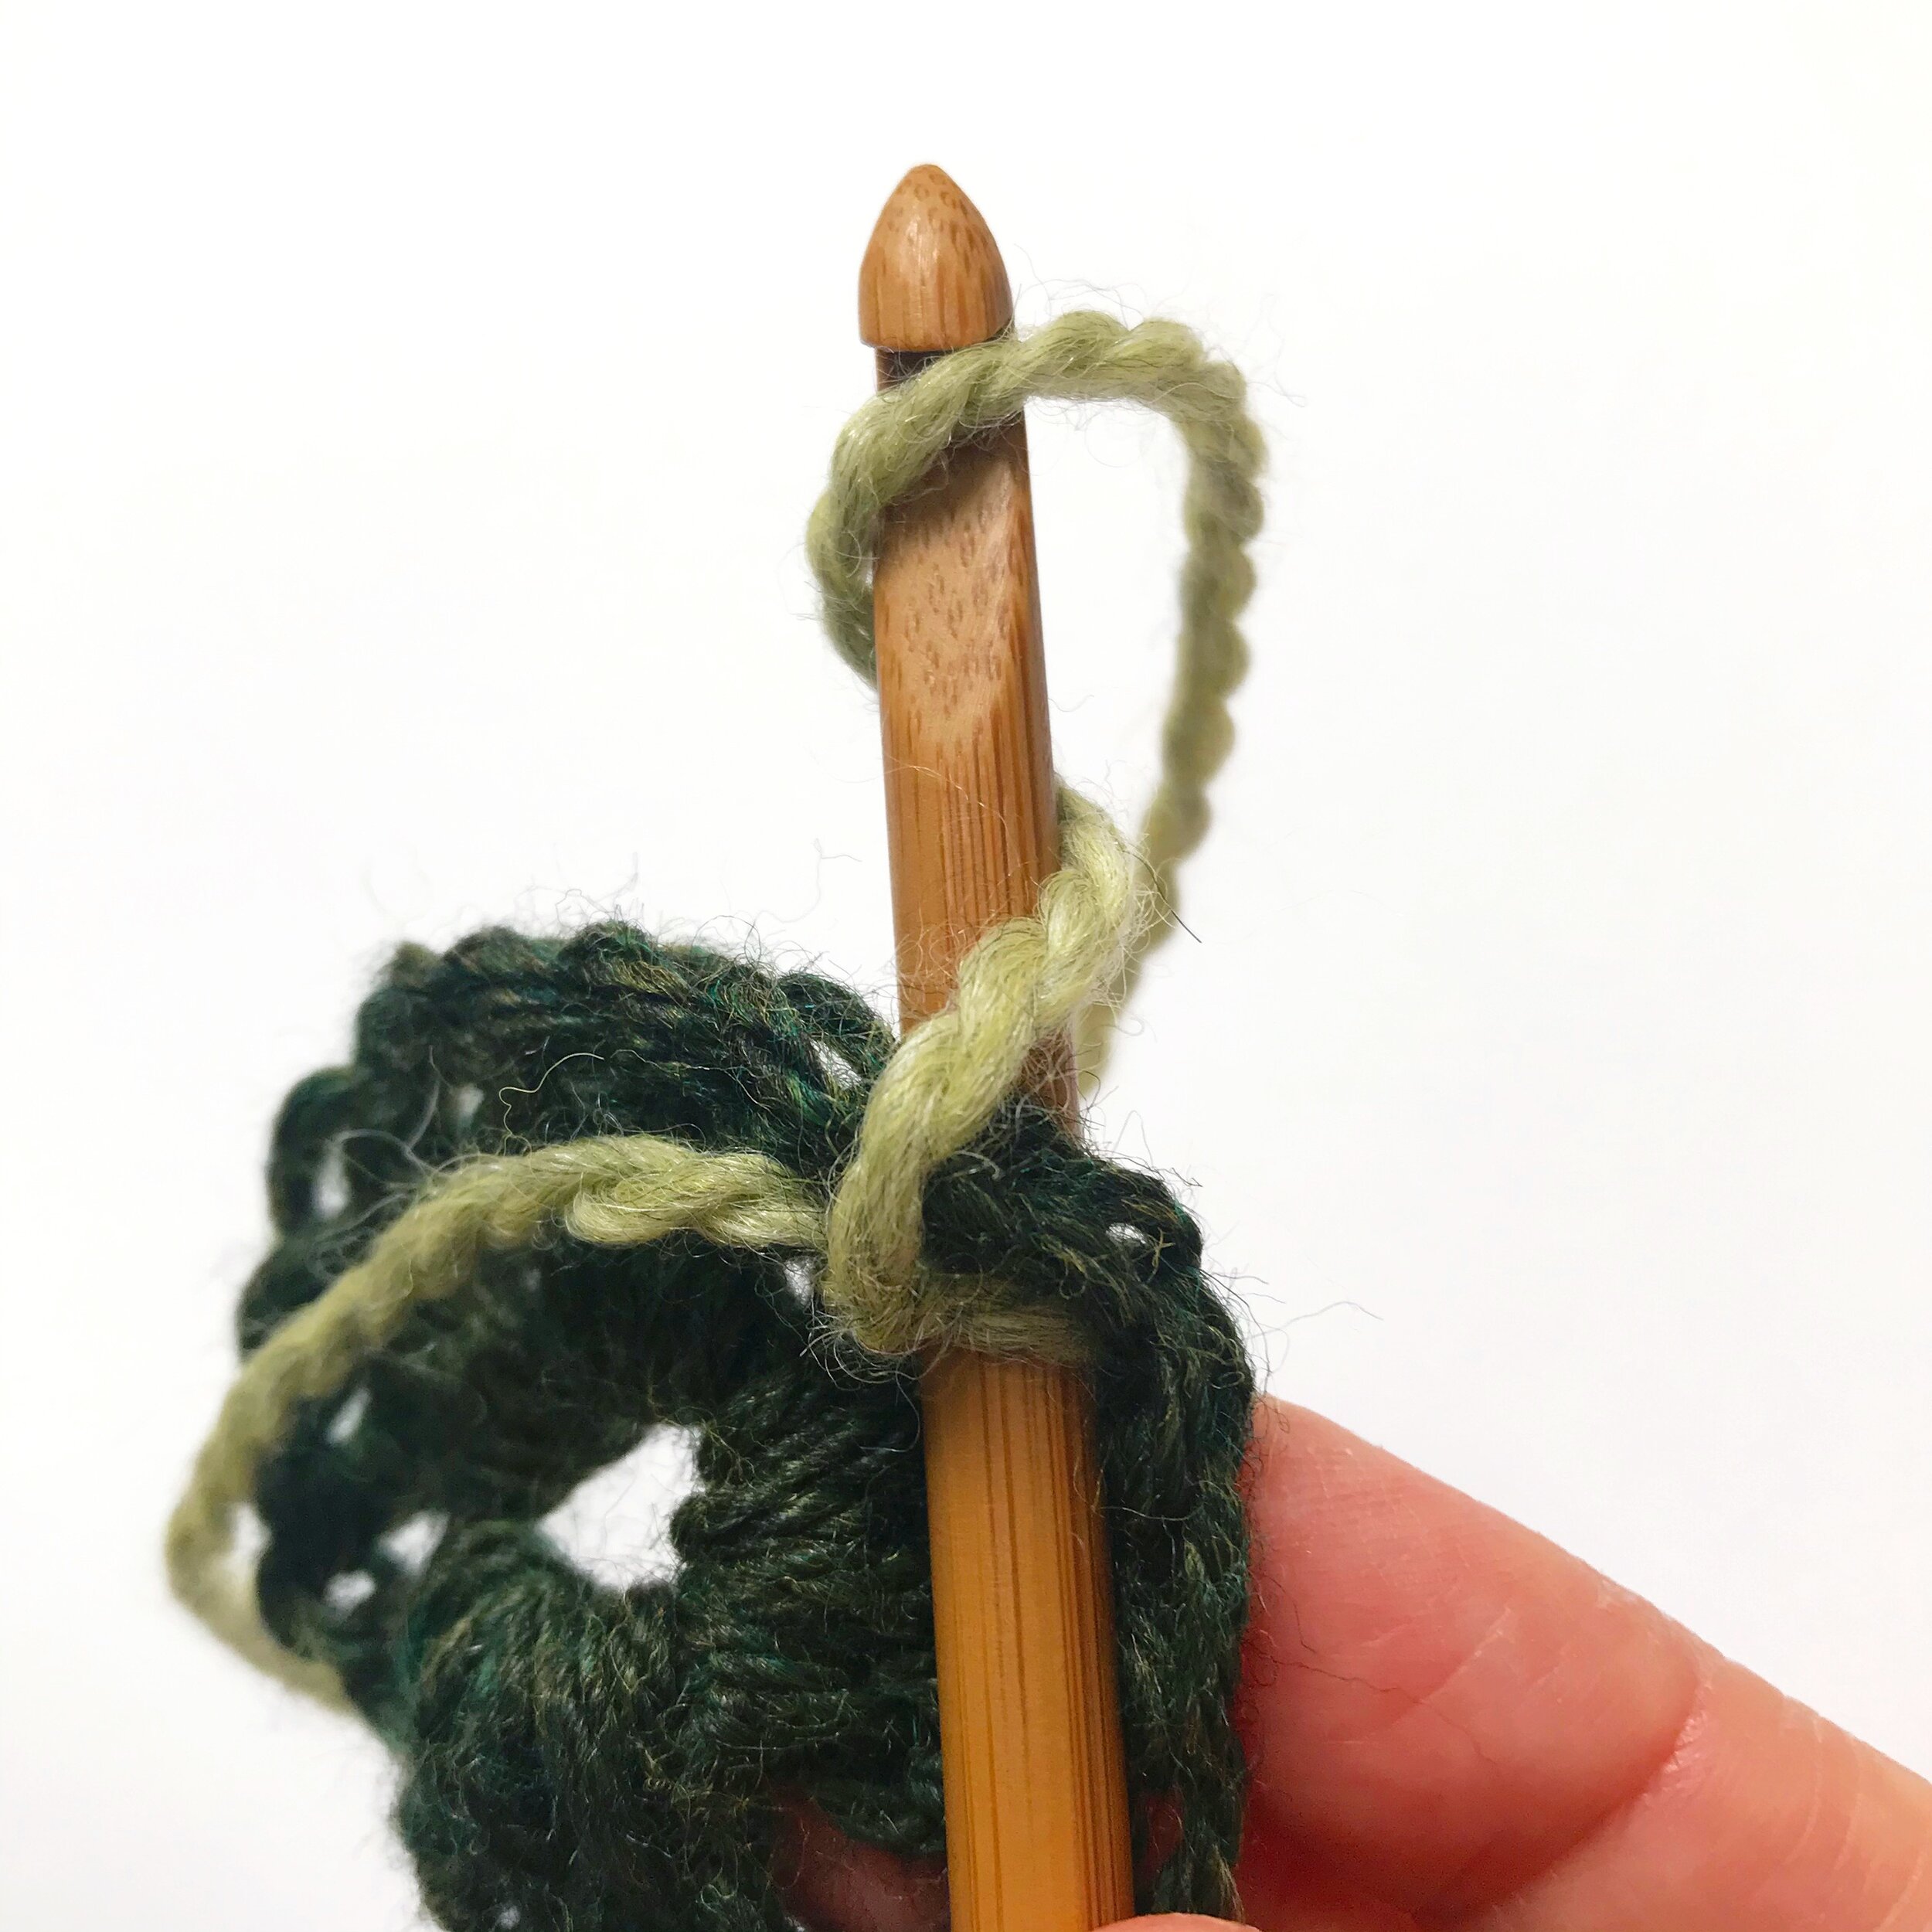
25. Your new yarn color is now attached to your granny square and you are ready to begin the next round.

26. Chain 3 stitches.

27. Double crochet 2 times into the corner and then chain 2 to create your first corner for your second round.

28. Double crochet 2 times to complete your first corner. Chain 1 for your first side. Double crochet 2 times into the second corner, chain 2, and double crochet another 2 times into the same corner.

29. This is the pattern for your second round: 3 CH, 2 DC, 2 CH, 3 DC, 1 CH, 3 DC, 2 CH, 3 DC, 1 CH, 3 DC, 2 CH, 3 DC, 1 CH, 3 DC, 2 CH, 3 DC, 1 CH, SL ST. You will chain 2 between each shell at the corners and chain 1 between shells on the sides.

30. Knot and trim your yarn for this round. Use your tapestry needle to weave in the ends.
31. Attach your next yarn color to your crochet hook using a slip knot.

32. Insert your hook into a corner (the space between the shells).

33. Yarn over and pull the yarn down through the corner and the loop on your hook to create a slip stitch.

34. Your new yarn color is now attached to your granny square and you are ready to begin the next round.

35. This is the pattern for your third round: 3 CH, 2 DC, 2 CH, 3 DC, 1 CH, 3 DC, 1 CH, 3 DC, 2 CH, 3 DC, 1 CH, 3 DC, 1 CH, 3 DC, 2 CH, 3 DC, 1 CH, 3 DC, 1 CH, 3 DC, 2 CH, 3 DC, 1 CH, SL ST.

36. Knot and trim your yarn for this round. Use your tapestry needle to weave in the ends.

37. You can choose to stop here or continue for more rounds.

38. A perfect use for a single granny square is a coaster! You can also stitch granny squares together to make pillows, bags, or blankets.
I’m so excited to see what you make! Don’t forget to use the hashtag #scrapproject2020 if you post your granny squares on Instagram!
Happy Making!